Okay, confession time. My living room used to be a disaster zone. The floors displayed stacks of books as plants spread across every free space while clutter covered the entire area. The search for storage became urgent while furniture shopping proved both complicated and expensive. I wanted an item which had a personal touch beyond common mass-produced storage solutions. I turned my attention to self-made shelving solutions at this point. You would be surprised to learn that building your own shelving system turns out to be simpler than expected while offering endless design choices. Not only do you get exactly what you need for your space, but you also get the immense satisfaction of saying, “Yeah, I made that.”
Why Go DIY for Your Shelves?
The process of making your own shelves offers better advantages than standard shelf purchasing methods. The ultimate advantage of customization exists in this particular DIY project. The ideal shape and size and design of your shelves can be designed to fit specific wall spaces which conventional store-bought shelves cannot accommodate. Your wall space becomes maximized for storage needs through this approach.
The cost of materials proves to be a substantial factor in all DIY projects. Building shelves yourself proves more economical than buying comparable store pieces especially when you seek unique designs or materials such as solid wood and metal. The process brings a satisfying feeling of achievement to those who engage in this hobby. Working on projects with your hands while acquiring new skills serves as an excellent way to create home decorations and find peace of mind.
Exploring Popular DIY Shelf Styles and Materials
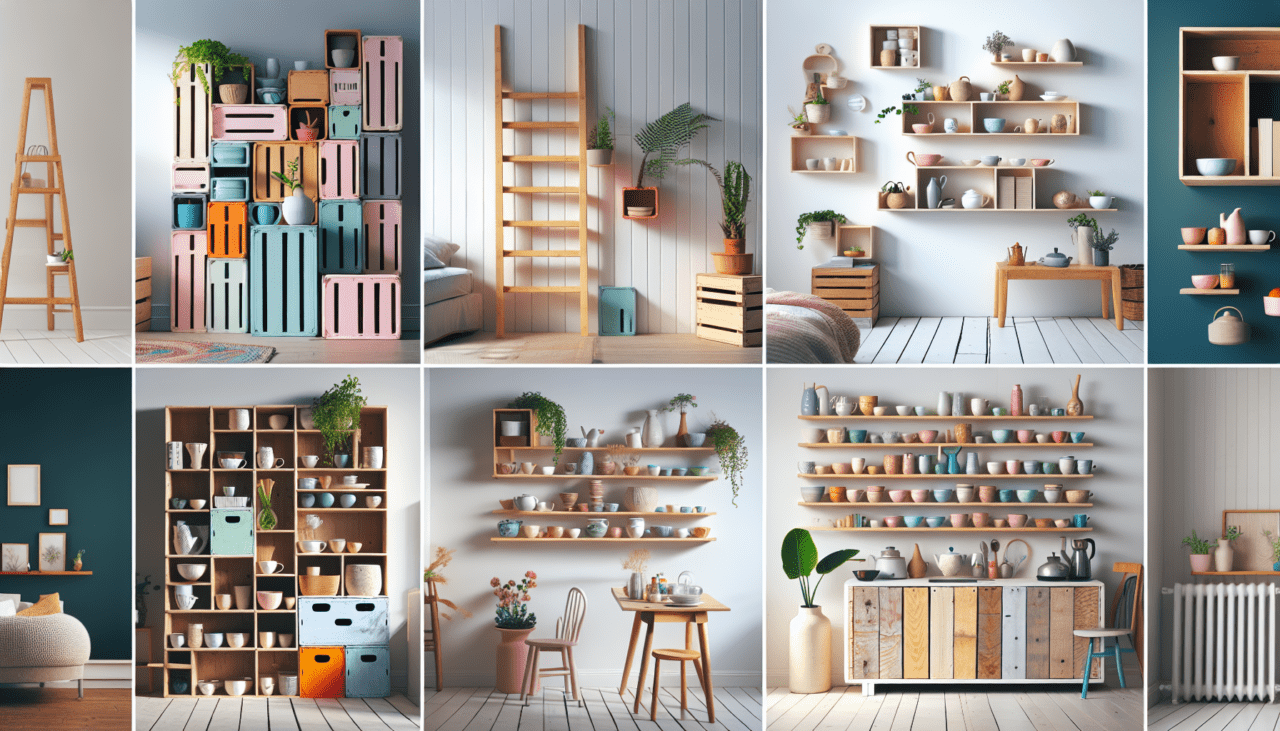
The DIY shelving world presents a wide range of possibilities that span from basic floating shelves to elaborate custom construction. A project’s design direction typically determines what materials you need to work with. The process of determining your project begins with deciding between design style and storage requirements. Book shelves need to be heavy-duty or display shelves should display plants and photos. The process of selection becomes more manageable after determining what you need.
Industrial Chic with Pipe and Wood
People often choose industrial-style shelving through the combination of metal pipes and wooden planks for their visually striking appearance. A pipe and wood shelving DIY project allows you to create strong shelving units which have an edgy urban aesthetic. The traditional industrial aesthetic comes from black iron pipes yet galvanized pipes produce a brighter industrial appearance.
This design style provides multiple possibilities for customization. The flexibility of this style enables you to construct ceiling-high units and corner shelves and simple wall-mounted shelves. The use of reclaimed wood or rough-sawn lumber works perfectly with this design because it enhances the rugged and authentic appearance. The process seems advanced at first but becomes simple when you master the pipe and flange assembly.
Modern Art with Geometric Designs
Modern homeowners should consider geometric wall shelving as a stylish and innovative alternative to traditional shelving solutions. These aren’t your grandma’s straight-line shelves! You can design shelves through geometric shapes that include hexagons together with triangles and asymmetrical boxes. The Geometric wall shelving design serves dual purposes by storing items while functioning as decorative wall art.
The process of making geometric shelves requires wood plank cutting at different angles followed by assembly into geometric forms. Plywood and other light materials work best for this project. The shelves can be painted in different colors or stained to keep their natural wood appearance. The arrangement of various geometric units on a wall produces an appealing dynamic feature that provides fashionable storage solutions.
Rustic Charm with Pallets
People who prefer rustic designs combined with cost-effective solutions should choose pallet shelf DIY projects. Pallets exist at a budget-friendly price point and bring an appealing weathered appearance to any space. You can transform pallets into shelf material through dismantling their individual boards or by using sections from the pallet structure.
The preconstruction work for pallets includes cleaning followed by sanding along with possible staining and sealing processes. Your efforts lead to distinctive rough wood appearance which makes the process worthwhile. Pallet wood shelves function best for holding light items and displaying small plants and kitchen spices. The eco-friendly storage solution provides tons of character while delivering functional storage.
Simple Floating Shelves
The minimalist loves floating shelves because they create a magical appearance by staying on walls without any noticeable supports. The wall-mounted fixtures create an illusion that they drift without any apparent mounting system. The appearance of floating shelves requires precise installation methods for secure anchoring since placing heavy objects on them will be considered. Several approaches exist to create floating effects in shelves which include concealed brackets together with internal supporting rods.
The design works well for contemporary areas as well as hallways together with any locations that need minimalist lines. The shelves exist as either solid wood structures or hollow core construction or thick plywood materials. Achieving the right finish with a perfect stain or smooth paint job represents the essential step to create professional-looking floating shelves. They serve as necessary wall storage units without creating visual disarray.
How to Build Shelves: The Basic Steps
The fundamental process of building shelves remains consistent regardless of the selected design style. The DIY experience reaches its practical implementation phase during this stage. Learning these steps helps people understand that building sturdy shelves which look attractive remains achievable for anyone. Mastering DIY shelving ideas depends on the fundamental knowledge of these instructions.
Planning and Design
Your work should begin with planning before starting any sawing activities. Measure your space precisely. Determine your desired shelf dimensions including length depth and height measurements. The items you plan to display on your shelves will help you decide how strong your shelves should be while determining their weight capacity. Visualizing the completed project through sketching enables you to determine material requirements for your cut list. Before mounting your shelves you must determine which wall type you will use because drywall, plaster and brick require different mounting approaches.
Gathering Materials and Tools
Create a list of required materials and equipment after determining your project design. The materials needed consist of lumber alongside hardware elements such as screws and nails and brackets and pipes and flanges and finishing materials including sandpaper and stain and paint and sealant. Some fundamental woodworking tools will also be necessary for the project. Projects at different skill levels require minimal essential tools so you don’t need extensive workshop equipment.
- Measuring tape
- Saw (hand saw, circular saw, or miter saw)
- Drill/driver
- Level
- Stud finder (crucial for wall mounting!)
- Safety glasses and hearing protection
- Clamps (very helpful!)
Cutting and Preparing Materials
The importance of precision becomes evident during this phase. The expression “Measure twice cut once” exists because it represents an accurate method for building. You should measure your wood pieces twice before making precise cuts with your saw. All pipe measurements need to be accurate for the project. The sanding process should focus on smoothing wood pieces while paying special attention to their edges. The assembly process requires stain and paint application at this stage because flat pieces produce better even finishes.
Assembly
The construction method at this stage will differ significantly based on your design requirements. Basic plank shelves require only marking and drilling operations. Box shelves require wood glue and screws or nails to connect their pieces during assembly. The pipe shelf assembly requires screwing together pipes and flanges before attaching them to wood. Take your time, ensure corners are square (unless you’re doing geometric!), and use wood glue on joints for extra strength.
Finishing Touches
You should apply your final finish to the shelves after assembly (preferably before hanging them). The finishing process involves applying paint twice and a clear protective coat or wax. All components need to dry completely before moving on to the next step. The protective layer safeguards wood surfaces and results in a polished finish for your shelves.
Designing for Style and Function
DIY shelves serve as more than wall-mounted planks because they allow you to both showcase your personal style while building practical storage solutions. Consider the visual appearance of the space you want to decorate. The shelves should match the surrounding decor or create a distinct visual effect. The visual appeal of your shelf improves when you paint its interior with different colors or add decorative borders. The size of shelves needs to match the dimensions of the wall space because placing small shelves on large walls creates an unbalanced appearance while using big shelves in compact rooms produces the same effect.
The design requires practical functionality above all else. The purpose of your shelves requires identification at this stage. The construction material and design must be strong when storing heavy books. Collectibles require shelving units with thin elegant designs instead of strong heavy ones. The correct placement of shelves relative to their contents determines how crowded or empty a shelf display will appear. Creative storage solutions unify attractive design elements with useful functionality.
Installation and Safety
The installation process requires correct execution to maintain safety standards. Heavy shelving units that lack proper wall attachment create safety hazards. You should use a stud finder to find wall studs before installing shelves or brackets since direct attachment to studs is always the best option. Drywall anchors require proper installation while ensuring they meet the needed weight capacity before usage.
A level tool should be used during shelf installation to prevent misalignment because an uneven finish will be frustrating to see after completing your work. You should work with assistance when constructing big or complicated shelving units. It becomes challenging to move long shelves by yourself while trying to place them correctly. Take your time, measure carefully, and double-check all your anchor points before loading up your beautiful new shelves.
Ready to Build?
Creating home transformations by making your own shelves leads to an extremely satisfying experience. Your custom storage solution matches your design style while providing functional benefits and saving you money and building your DIY abilities. The world of DIY shelving contains projects ranging from pipe and wood combinations to geometric wall designs and pallet-based creations which can suit every design preference.
You should not feel hesitant to begin construction even if you lack experience in building things. Start simple! Your first step should begin with either floating shelves or basic bracketed shelving units. Your willingness to learn together with proper planning and suitable tools will help you create beautiful customized wall decor that eliminates clutter. Measure your space then begin creating storage with our next steps.