I have spent countless hours browsing home decor websites admiring beautiful light fixtures yet most of them exceed my budget. The pendant lamp I wanted to use in my entryway was absolutely perfect yet the price tag was completely out of reach. I faced two options which seemed to be either pick dull standard lighting or waste most of my budget on one light. The choice between basic ordinary lighting or expensive new fixtures did not match my goal to create a welcoming and unique home environment. At this point I seriously considered building things myself. Worrying about wires and sockets was my initial concern before I chose to pursue the opportunity of making unique pieces that I could call my own. The process of making attractive and useful lighting proves simpler than expected and delivers deep satisfaction.
Why Bother with DIY Home Lighting?
DIY home lighting projects bring personal touches to your home beyond budget benefits although they do provide significant financial advantages. The DIY approach gives you freedom to create lighting designs that online or store-based options cannot provide. You can design fixtures which fit your personal aesthetic whether you want rustic charm or modern minimalism or eclectic designs. The pleasure of flipping a switch to illuminate your homemade lighting fixture in your room gives you an unmatchable feeling of accomplishment. Store-bought items cannot replace the distinctive touch that you achieve through making your own lighting fixtures which turns your space into an authentic expression of yourself.
Getting Started: Your DIY Lighting Toolkit
Basic tools along with specific materials will enable you to begin lighting projects without needing a professional electrician. A standard DIY project needs a cutting tool along with wire connections and assembly materials. The required materials consist of basic crafting materials which blend with electrical tools.
- Wire cutters/strippers
- Screwdriver set (various sizes, especially small ones)
- Drill and assorted bits
- Measuring tape or ruler
- Strong adhesive or wood glue
- Safety glasses
- Latex or work gloves
- Lamp cord kits (with plug or bare wire ends)
- Light sockets (various types like standard E26/E27, candelabra E12)
- Wire nuts or electrical connectors
- Mounting hardware (screws, hooks, ceiling plates)
Safety First, Always!
Electricity requires proper respect along with careful handling when you work with it. You should verify that the power supply remains turned off at the circuit breaker before beginning any project that involves electrical wiring. Double-check with a non-contact voltage tester. Consulting or hiring a qualified electrician for electrical connections and wiring assessments is completely acceptable and smart when you feel uncertain. Your safety is the top priority, so don’t take risks. The knowledge of basic electrical safety practices enables you to work on DIY home lighting projects while feeling completely secure.
Bright Ideas: Exploring Creative Lighting Projects
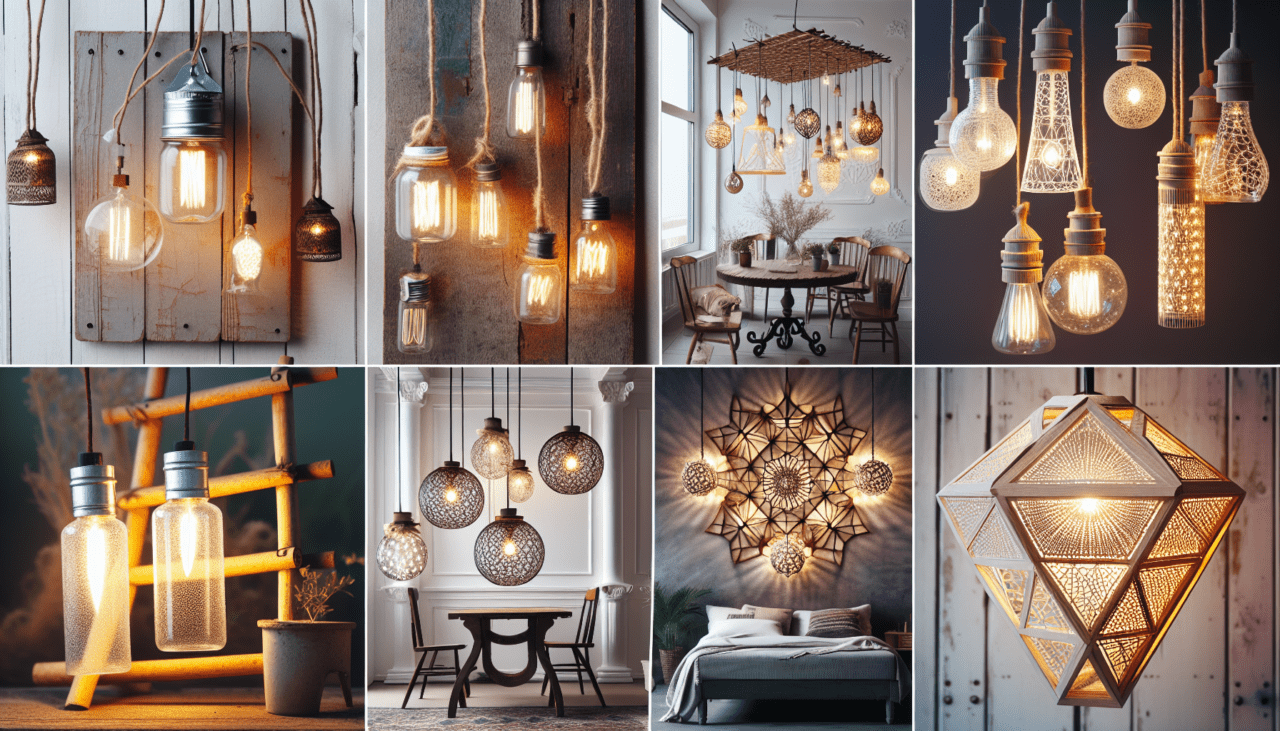
Ready to get inspired? The possibilities for DIY lighting projects are endless because you only need your creative vision and available materials. You can create original lighting designs through experimentation with materials and shapes and different textures to develop one-of-a-kind creations. Your ability to create distinctive and welcoming DIY lighting fixtures will enhance any room through either recycling materials or building entirely new pieces.
Upcycled Pendant Lights
The transformation of common household items leads to the creation of remarkable ceiling fixtures. Mason jars are classics, perfect for a rustic or industrial look. Old wire baskets transform into light and contemporary pendants. Cleaning and painting metal cans along with wiring them produces distinctive and affordable lighting solutions. The selected material needs to maintain safety standards for bulb placement while preventing heat accumulation.
Custom Lampshades
Old lamps receive a fresh start through your intervention when you give them new life or when you transform basic affordable lamps into personalized fixtures. Existing frames can be covered by using yarn or fabric strips or even paper maps. Use stencils to decorate plain shades before adding paint designs or installing small objects like buttons or pressed leaves at a safe distance from the bulb. Using fabric glue and waiting patiently will allow you to completely transform the appearance of your room.
Unique String Light Displays
The festive season does not hold the monopoly on string light use. String lights prove to be excellent sources for developing both a mood and ambient lighting effect. Your basic string lights become more beautiful when you attach handmade decorative elements including origami designs and painted ping pong balls and fabric puffs. The lights need creative positioning through draping them on a headboard while framing mirrors and placing them in clear containers for an enchanting accent lighting presentation.
Building Your Own Lamp Base
Feeling ambitious? Unconventional materials serve as the foundation to construct a lamp base. Industrial pipe fittings serve as a base material to produce an urban-inspired appearance. A modern sculptural base emerges when you arrange stacked wood blocks. The material of concrete allows you to create unique molded forms. The base needs to provide stability and contain a passage for the power cord. The construction of this project provides a complete process to construct an electrical fixture from start to finish.
A Simple Project Walkthrough: The Upcycled Mason Jar Pendant
Making a pendant light from a mason jar stands as an accessible DIY project that beginners can accomplish. This project serves as an excellent introduction to DIY lighting and enables you to create a customized attractive fixture. The project incorporates regular craft materials together with a basic lamp kit that is easy to find. All necessary tools which appear on our list must be used.
Materials Needed
- The required material consists of a quart-sized mason jar with both its lid components (ring and flat disc)
- A pendant light kit that operates with jars or provides adjustable cord lengths and appropriate socket compatibility
- Wire cutters/strippers
- Drill
- The socket and cord diameter requires a step drill bit or hole saw which should be slightly larger in size.
- Optional sandpaper for smoothing edges
- The light fixture requires a low heat LED bulb because enclosed spaces such as jars need this type of bulb.
Step-by-Step Instructions
Start by switching off the breaker for your work circuit (unplug your kit from the power source if you are using a plug-in kit). Remove the metal disc from its attached ring part of the mason jar lid.
Place the flat metal disc in the center of your marked area. Your drill needs to use either a step bit or hole saw to cut a hole in the disc’s center. The socket and cord need to fit through the opening without it becoming too big for the socket to remain inside the metal disc.
The area around the hole needs sandpaper smoothing in case you want to create a smooth finish. The cord needs protection from damage through this method. The lamp cord and socket assembly from your pendant kit should be inserted through the hole in the metal disc. The socket should be placed inside the jar while the cord extends from outside.
The socket attachment process must follow the guidelines present in your kit. The socket attachment system in different kits consists of either rings or nuts or integrated components. The connection must be tight and properly secured. Place the lid ring back onto the mason jar while ensuring the metal disc (with socket attached) stays securely positioned at the jar’s mouth.
Read the safety guidelines provided with your kit before proceeding to wire your pendant light according to the instructions. You need to link the hardwired pendant to the ceiling electrical box after turning off the power supply. Attach the plug if your kit does not already have it attached. Check every connection twice before you move forward.
Choose an LED light bulb for installation because it generates minimal heat that matters inside glass containers. Use the included mounting hardware from your kit to safely hang your newly constructed pendant fixture from the ceiling. After installing your creation and completing all safe electrical connections turn on the power breaker to see your finished work.
Installing Your Creations & Final Safety Checks
The most rewarding part of the process occurs when you finally put your finished piece into place. Follow the mounting hardware instructions as well as the specific lamp kit guidelines when you install your pendant or wire a lamp base or mount a wall sconce. Remember to turn off the circuit breaker power before starting work with your existing house wiring. You can connect your assembled plug-in lamps to any suitable outlet in your home. A final visual examination should be performed following the installation. All connections show proper security measures. The fixture remains stable. The wires need to be properly concealed without any pinching. Check your new light by restoring power supply to the electrical system. Your handcrafted creation shines brightly in the light. Creating DIY Home Lighting fixtures provides both design customization options and essential DIY development capabilities.
The process of building your own light fixtures appears challenging at first but you will discover its accessibility after beginning with basic projects. Your home features unlimited possibilities to add special lighting through creative combinations of upcycled objects and custom-made lighting structures. The combination of cost effectiveness with originality leads to pieces that showcase your personal style through unique storytelling elements. Choose a project that sparks your interest then start building with your materials to create new lighting for your home. Happy crafting!